Introduction
Windows Server, version 1709 is the first release to ship in Semi-Annual Channel. It is a new cadence of release which is supported for 18 months and will have the new versions released every 6 months, which is different from the standard Microsoft Long-term servicing Channel (LTSC).
Windows Server, version 1709 that runs only in server code mode contains variety of enhancements and new features. This version is all about innovations on applications, particularly those build in containers and micro-services. Since this version concentrates on specific scenarios, it is available only in Standard and Data-center editions.
Windows Server 1709 features
Following listed are the major features and enhancements on the version.
- Updated Server core container OS
- Nano server available as container OS
- Reduction in image size of Server core and Nano container
- Support for Linux Containers with Hyper-V isolation
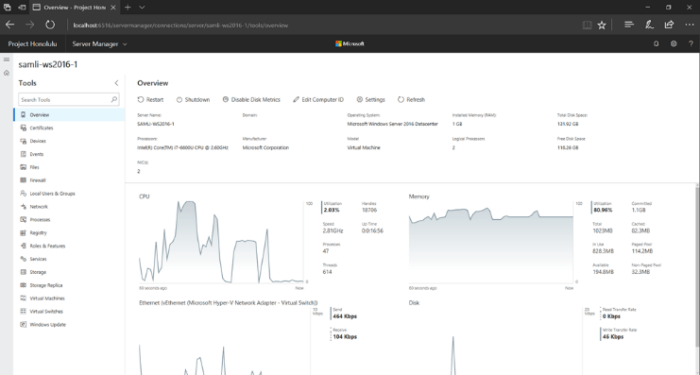
- Project Honolulu, modern management
System Requirements
System requirements remains same as in Windows Server 2016. Following are the minimum requirements.
Processor:
- 4 GHz 64-bit processor
- Compatible with x64 instruction set
- Supports NX and DEP
- Supports CMPXCHG16b, LAHF/SAHF, and PrefetchW
- Supports Second Level Address Translation (EPT or NPT)
RAM:
- 512 MB (2 GB for Server with Desktop Experience installation option)
- ECC (Error Correcting Code) type or similar technology
Storage and disk space
- 32 GB
Network adapter
- An Ethernet adapter capable of at least gigabit throughput
- Compliant with the PCI Express architecture specification.
- Supports Pre-boot Execution Environment (PXE).
Windows Server 1709 Setup
In this section, you’ll find how to install Windows Server 1709 in Azure and run docker containers with the IIS web service.
Getting started with 1709 version
Following is the procedure to create a new virtual instance in azure with Windows Server 1709 version.
- Login to the azure portal and navigate to Virtual instances. Click on Add
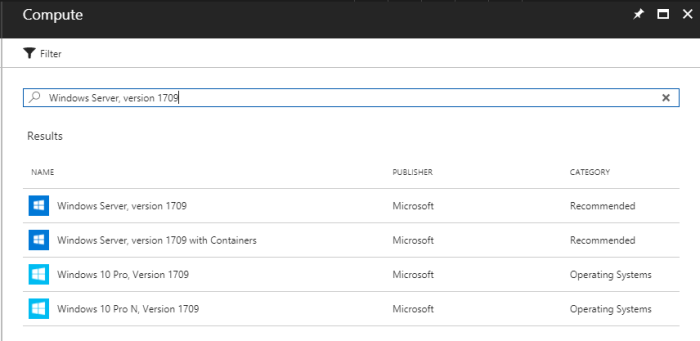
- On the compute window, type “Windows Server, version 1709” and search. You will get a list of versions among which select “Windows Server, version 1709 with containers”
- Choose the deployment model -> Provide other details on the virtual instance configuration such as Name, VM Disk type, Username, password, Resource group, Size, Location, etc.
- On the Summary page, accept the terms of use and Click Create
- Once the virtual instance is created, Connect and login to the server
- Once you login, you will experience core mode welcome screen

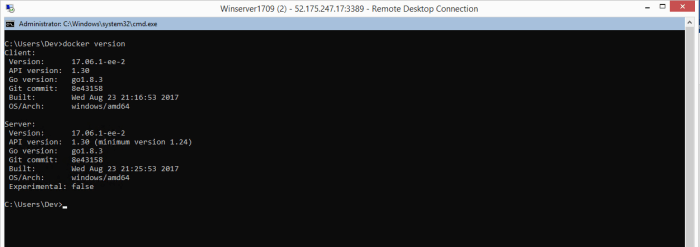
- On the command prompt, type “docker version” to get the version information
- Before proceeding further, make sure that the server is installed with the latest updates
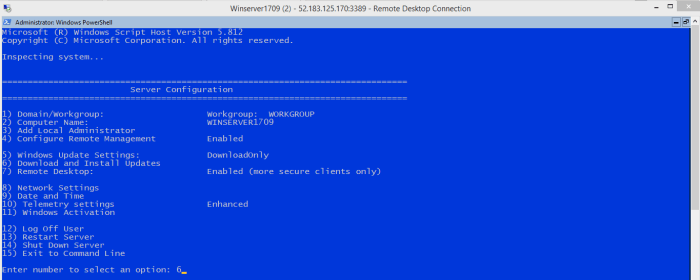
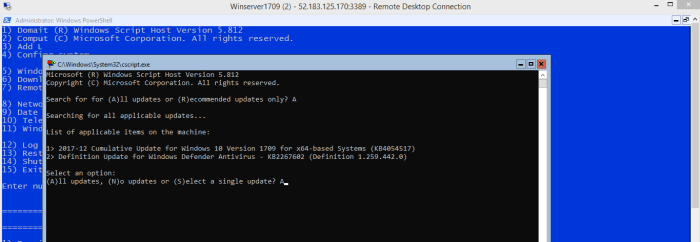
- Execute command “sconfig” and type the option as “6” to download and install the updates
- Type “A” and enter to search for all the updates

- Type “A” and enter to install all the listed updates as per the system
- Once the machine is installed with the updates, execute the command “docker images” to list the images available on the server

- As per the above screenshot, we could see that there are two images, which are Microsoft/servercore and Microsoft/nanoserver.
We will further see how to create new container with the image and configure services.
Deploying container and configure IIS Micro services
We will use the existing the server core image to create a new container.
- Note down the image ID of the servercore. As per the screenshot, it is fc3e0de7ea04. Execute the command as mentioned below to create new container with the image
docker run –name IISWebserver –it –p 80:80 fc3e0de7ea04 cmd
(Creates new container IISWebserver with the image windowservercore and enables port 80 on the same. Parses cmd process to the container and runs it”)

- Command prompt on the container will be launched on successful completion
- You could verify the status of the container by executing the command “docker ps”(docker ps –a lists all the created/exited containers)

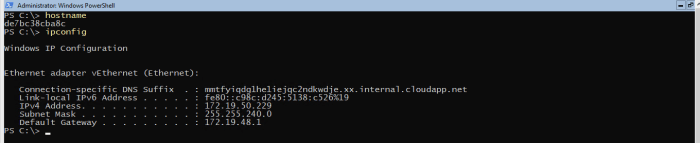
You could verify the hostname and IP addresses of the container
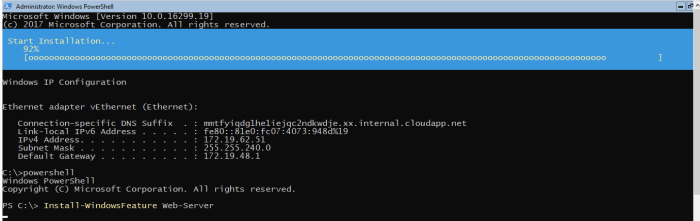
- Type “powershell” to change the mode and use the “Install-Windowsfeature web-server” command to install the IIS role on the container


Note: You are configuring service on the container that you have created upon the server.
- Web server role is successfully installed on the container
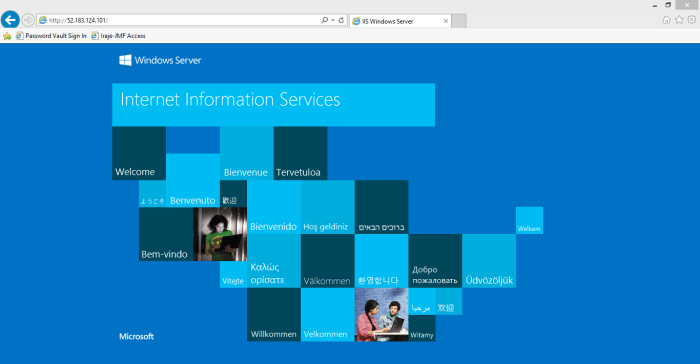
- Now, access the server IP address from Internet explorer. You will receive the IIS default webpage.
- Import the Webadministration PowerShell module and administer your websites through the same

- Example of hosting a website
- Copy any html file to the C:\inetpub\wwwroot path or create new one with test content
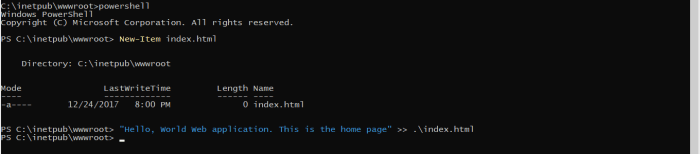
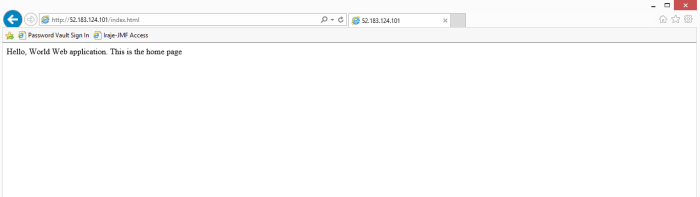
- Access the webpage by adding the respective html file name
- To stop the container, execute the command “docker stop <container ID>”

- To start connect to the container again, execute the commands
docker start <container ID>
docker exec -it <container ID> cmd

In the next Part, will see how we can create & run multiple docker containers with different services using 1709 to understand the containers capabilities.
